Friday, March 23, 2012

Remembering Peter: Lubbock Temple

I love fog! Just not driving through it. 

We went to Lubbock last weekend to attend the Temple and were quite surprised by all the fog on our way.  

Growing up in Alaska, I only remember seeing real fog once when I was driving around town with my dad. It was on a sports field and we pulled over and walked out into it. When we got out there it started lifting and was soon gone. 

I love the look and mood of fog, and it was kind of fun to see the Temple surrounded by it, but I was definitely relieved that it had lifted by the time it was time to drive back home.

While attending the Lubbock Temple I decided that it might be one of my favorites that I have had the opportunity to go inside. The murals, stained glass, and rooms are so beautiful. My favorite is an amazing ceiling mural that makes it look like the ceiling is a huge window with gold lattice and a beautiful sky showing through. 

This time attending the Temple was very special to me, and I felt the spirit so strongly. There were two young men and two young women who were all going through the Temple for their first time to receive their endowments. One young man was about to go on a mission. 

I was sitting in the Celestial room at the end of the session thinking about that time in the future when I would actually have the opportunity to be in the presence of Heavenly Father when I saw that young man come through the doors and go to his mother for a hug. You could tell that she was so proud of him. There was a lot of love in that room as each person embraced those who had just come through. 

It reminded me of when Zach and I went through the Anchorage Temple together and had so many family members and loved ones there to hug us and congratulate us as they met us in the Celestial room. I imagine that death will be a lot like that. I imagine that when we pass through the veil we will be able to see and meet those family members and loved ones that went before us and embrace them again. 

I couldn't help but think about my own hug with my son when that time comes. 

This time attending the Temple was the most real to me. I know there are things I need to improve and change so that I can ensure that I am worthy to meet Heavenly Father and Peter in Heaven. I can't wait for that day!


Sunrise through the fog, through the car window.


Following, but not too closely. 


Ahh! Scary!


I love to see the Temple.


Thursday, March 22, 2012

Quick and Easy Thai Coconut Soup

When I saw this recipe posted on Our Best Bites, I was immediately interested. I love Thai food, coconut, and the promise of quick and easy dinners. This was right up my alley. After having one of my best friends recommend it, I decided to make it for dinner tonight. 

I was not disappointed


Here is the original recipe from Our Best Bites.

Photo from Our Best Bites.


Easy Thai Coconut Soup
Recipe by Ourbestbites.com
Ingredients
1 teaspoon olive oil
1 1/2 tablespoon minced jalapeno pepper (I just used the outside part and not the seeds and membrane- go here for more info.)
1 1/2 tablespoon fresh minced ginger
2 14.5-ounce cans chicken broth
1 13.5 ounce can coconut milk or light coconut  milk (I used light)
1/2 teaspoon salt
2 packages ramen noodles (discard seasoning packet)
¾ cup sliced mushrooms
Juice of one lime (Approx. 1 ½ tablespoon fresh lime juice)
2 tablespoon chopped cilantro
1 cup diced or shredded cooked chicken
toppings:  additional chopped cilantro, sliced green onions, and lime wedges
Instructions
Heat medium sized pot to medium heat on stove top.  Add olive oil, jalapeno, and ginger (if using fresh.)  Cook for 1-2 minutes, stirring frequently, until jalapeno and ginger are softened and fragrant.  Add chicken broth, coconut milk, and salt and increase heat to bring mixture to a boil.  Reduce to simmer and add noodles (note: you will discard seasoning packet that comes with noodles.)  Simmer 3-5 minutes, until noodles are softened.  If using mushrooms, add them in the final 2-3 minutes of cooking the noodles.  Add chicken and simmer for about 30 seconds to heat through.  Remove pot from heat and stir in lime juice and cilantro.   Ladle into serving bowls and garnish with additional chopped cilantro, green onions, and lime wedges if desired.  Serve immediately.  Serves 4-6.
Note:  This type of noodle absorbs liquid exceptionally fast, so you should serve the soup immediately.  If you know you need to keep the soup warm for a while before serving, wait to add the noodles until a few minutes before you’re ready to serve.


Ready to become delicious soup.


Ready for mushrooms.


Ready to dish up.


Ready to enjoy.


It really was quick, easy, and simple but is still a dish that is delicious and makes an impression. When I make it again I would like to try using a different kind of noodle- maybe something more authentic and substantial than ramen. Either way, it is a recipe I look forward to making again!

Sunday, March 18, 2012

Lucy Lately: Jan- March


Snuggle time.


Best mom ever.


Fun with M.


Happiest girl in the world.


Sucking the lemon rind.


Lucy found the bottom compartment on the co-sleeper. 


Testing out mom's body pillow.


Snuggler.


Lucy learning how to feed herself!


For some reason she loves putting socks on her arms. Usually stinky socks. 


Wanting to be like mom and dad.


Lovin' her new xylophone that we found for $3.00 at Goodwill!


Lucy loves her other favorite toy, a cardboard box.


Hippy hipster.


A new use for a broken clip on earring.


What a sweetie!


Loves her bindi!

Friday, March 16, 2012

Art Lesson: Oil Pastel Self Portrait

Lesson Two: Oil Pastel Self-Portrait


The lovely M.


M picked this pin as the inspiration for our next project.

Gaga oil pastels
The pinspiration.


Step one: Take picture and print in black and white to trace onto black construction paper


Lucy loves having M over for art lessons so that she can model all of her fashionable accessories.

Step Two: Making homemade carbon paper.


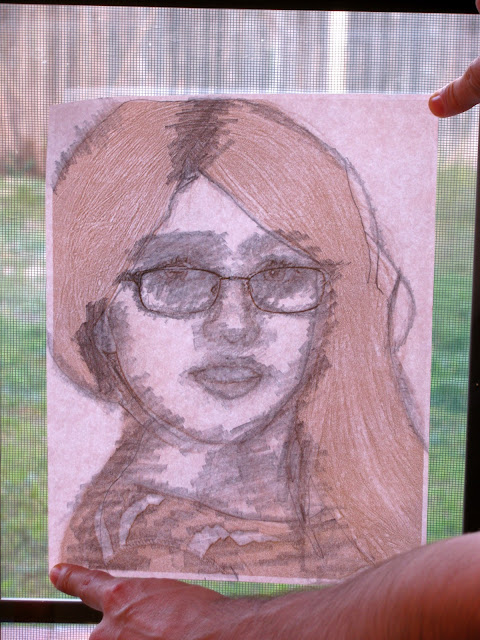
Holding the paper up to a window to makes it easier to see the lines to trace.


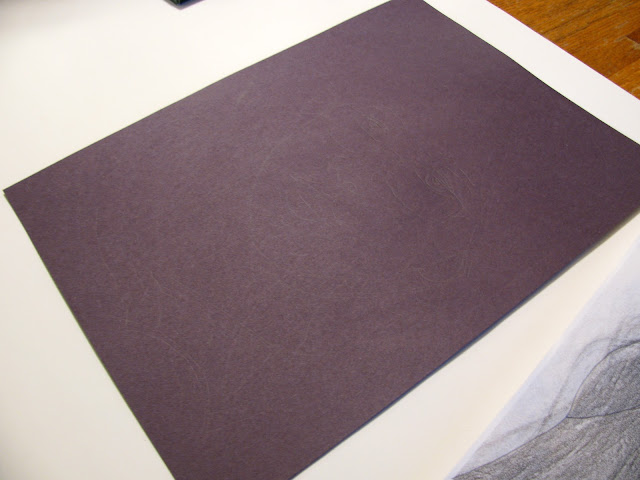
Ready to trace onto black construction paper. You put the paper graphite-side down onto the black construction paper, then trace the outline of the picture on the front side. This transfers the graphite to the black paper and gives you the outline of the face and features. 


If you look closely, you can see the graphite lines that transferred from the back of the paper onto the black paper.

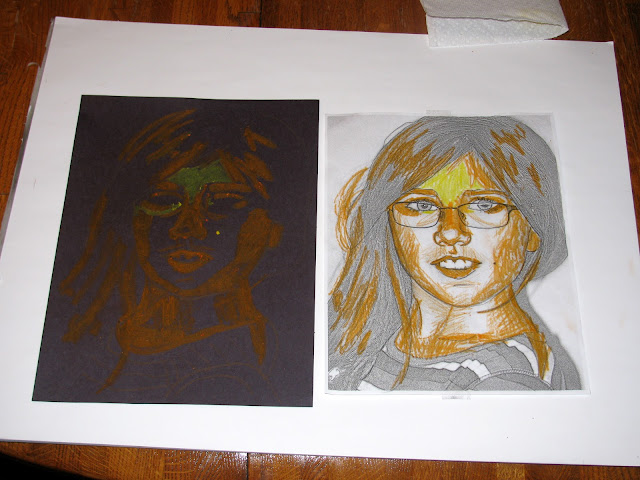
Step Three: Bump up saturation on color copy to create extreme colors to use as reference when coloring


I demonstrated on the printed image on the right how to shade and color each section.


Wowza. Dirty screen. We used this image as a color reference for coloring.


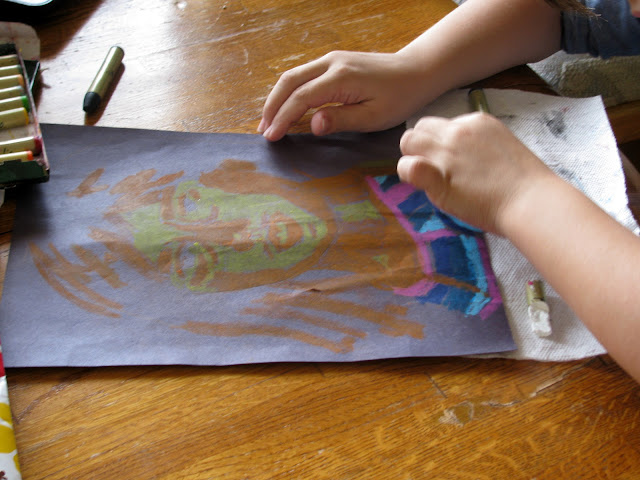
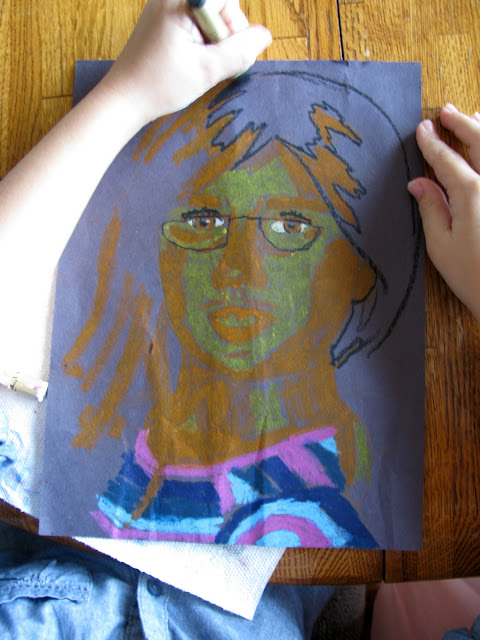
M working away on her self-portrait.


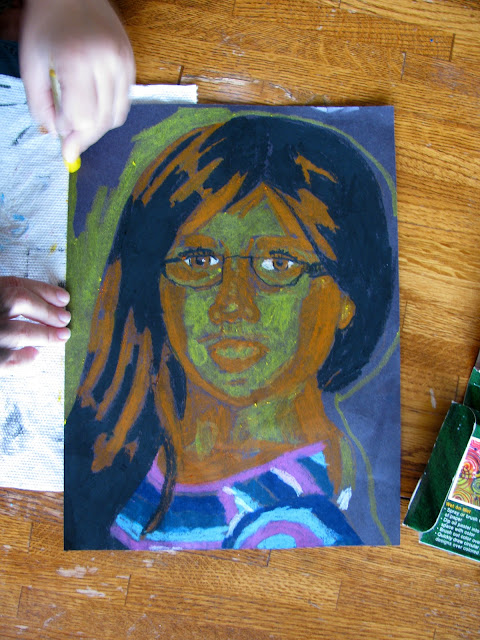
I helped M with the eyes and outlined the section of hair in black demonstrating the kind of lines and line direction to create hair texture, and M  finished it.


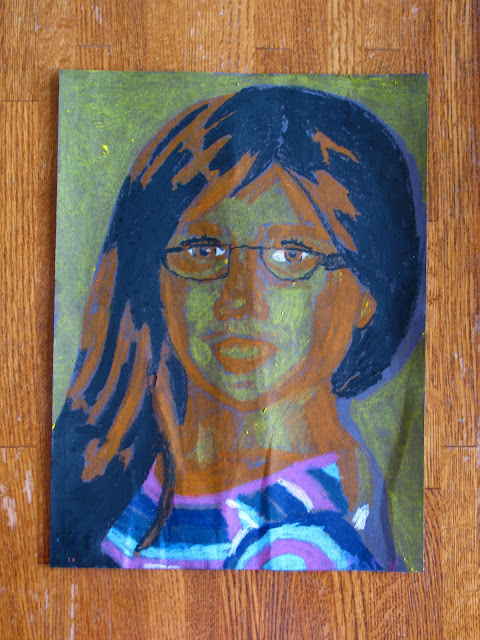
M debated whether to fill the background in with yellow, like her photo reference, or to leave it black paper.  She decided to color it in,  in order to create more color balance and frame her image more. 


The awesome final product!

I thought this project turned out amazing! I hope M loved it as much as I did. A great project that I would  definitely do again. This would be a fun gift for family Christmas presents or for grandparents. You could draw portraits of each person for a gift, or give a drawing of yourself. A great mother or father's day gift. Or draw a pet portrait.  So many options.

I love using pastels on dark paper. It really makes colors stand out and adds a fun twist as you draw the highlights instead of shadows. I love it! I can't wait for next weeks lesson and new project.

Garden: 2012

When we first moved to Texas three years ago I was super excited to start a garden. For Valentine's Day 2009 Zach bought me roses, seed packets, a big bag of dirt, and those little starter dirt pucks that you add water to and they pop up to become mini planters. (Who doesn't love those?)

I planted an assortment of herbs in my pop up planters and waited in anticipation. Fast forward to two weeks later and all the dirt pods looked like they had spores growing on them. Ew. Disappointed, they got tossed out and the remaining seed packets were stashed away on top of the fridge.


Be still my heart. 


The original  stash from Valentine's 2009.


This year I decided to try again and decided to just plant them directly into some random pots that we inherited when we bought our house that were filled with soil.

I filled one pot with sweet peas, and another pot with chives. It seems like every other recipe I try calls for chives, and I never have any on hand. Growing up we had a big batch of chives in the back yard that was used often for dinner.

Sweet peas are one of my favorite flowers. They smell so good and are so pretty.

Who knows if anything will even grow, but I figured I would at least try and see if I can enjoy some fruits of my labor. Maybe if it works out I will start to branch out and plant a few more pots.


Left: Chives    Right: Sweet Peas


Here's hopin'!

Related Posts Plugin for WordPress, Blogger...