Last year I found
this tutorial on Our Best Bites on how to dye eggs using old silk ties. The next time I went to the thrift store I spent 20-30 minutes going through all their ties finding ones that were 100% silk to use for this project. I also found a handful of pretty designer ties that I ended up giving to Zach as gifts.
My silk tie collection sat in my closet waiting for Easter to finally roll around again. Finally Easter came and I could try this out!
Here are my finds:
 |
| 100% Silk, 100% Thrifted |
 |
| Look for the tag indicating 100% silk. |
 |
| Sometimes the tag is hidden in the smaller end of the tie. |
 |
| A fun find that I considered giving to Zach to wear instead of cutting up. I'm glad I decided to use it! |
 |
| Designer finds. (Third from the left ended up as egg fabric because of a stain.) |
 |
| This one would have made an awesome egg! |
 |
| Cool crest on the inside. |
 |
| Wowza! Found the original price tag for this tie tucked inside the small end. |
 |
| I used a seam ripper to take apart the ties at the beginning. Then I realized it was taking too long and I was going to cut them up anyways. Cutting a few threads to get started and then tearing the ties apart was a lot faster. |
 |
| Cut a square of silk to cover the egg. Wrap it with the outside of the tie print facing the inside so that it touches the egg shell. Secure with rubber band. |
 |
| Cut squares of cheap plain fabric (old pillowcase) and wrap one around each egg to secure silk closer to egg shell. Secure with another rubber band. |
 |
| Place in pot, fill with water and boil for 20 minutes. |
 |
| After boiling 20 minutes let cool and then use tongs to lift each egg out of the water. Rinse with cold water to help eggs cool. Use scissors to cut rubber bands and unwrap each egg. |
 |
| Left over water after boiling for 20 minutes. Discard. |
 |
| The first egg! |
 |
| I had enough fabric from each tie to wrap two eggs. I wrapped one egg horizontally and the other vertically. |
So fun! You can also do this technique on blown eggs so that you can save the shells. I like it quick and simple. I don't mind throwing them away at the end of it all. It was a fun experiment.
On Easter Sunday we dyed more eggs the traditional way with our friends. I love art-related holiday traditions!
 |
| Lucy and I dying eggs the old fashioned way. |
 |
| Enjoying a nice Easter Sunday together. |
 |
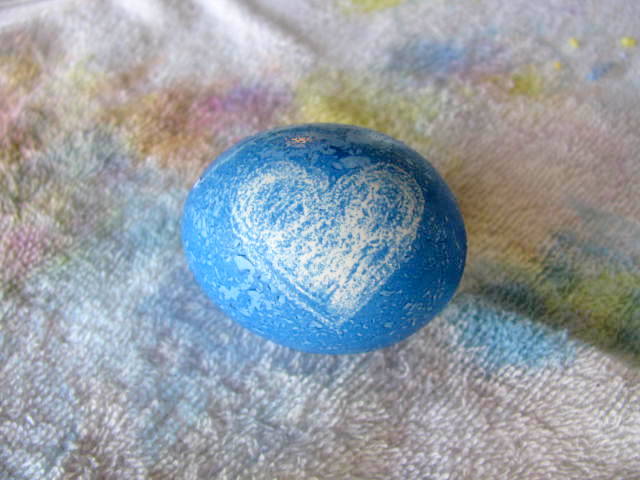
| Before: One of our favorite ways to decorate eggs using a wax resist. |
 |
| Lucy's First Easter Egg |
 |
The lovelies on display. *Not to be eaten!
Fabric dye chemicals + 20 minutes boiling = not safe for consumption |
 |
| After: Using the yellow crayon and purple dye |
 |
| Lucy so proud of her beautiful egg, and ready to enjoy the fruits of her labor. |
 |
| Finger-licking good. |
 |
| Pondering the mystery of eggs and chickens: Which came first? |
 |
| "While pondering, I must nourish myself." |
 |
| "Surely there is a way to get you in my mouth all at once." |
 |
| "A tasty morsel." |
 |
| The egg escape! |
 |
| "Please, Mom, can I have some more?" |
 |
| White crayon with green dye. |
Did you dye eggs this year? Link up to show them off!


Love this! I'm definitely trying the tie one next year! When I get my eggs posted, I'll share the link ;)
ReplyDeleteThose silk-dyed eggs are FAB! Love how they turned out!
ReplyDelete