Wednesday, February 29, 2012

Lucy's First Temper Tantrum

About a month ago Lucy had her first temper tantrum. I had no idea what it was even about because she wouldn't talk and tell me what was wrong, she just started crying. I didn't know how to help, or what was going on, she refused to communicate, so I decided to just leave her alone and ignore it. About an hour later she finally fell asleep right where she was- on the kitchen floor with her bottom still up in the air. 

I snapped a few pics. and then gently put a blanket on her. She slept for about an hour and woke up relatively calm. 

Weirdo.


The Aftermath

Unfortunately, this wasn't a one-time thing (darn) and it has been happening a lot lately.  Today I made it a point to make it a Lucy Day- thinking that she might just need some extra attention. I put distractions away and we spent the day going to the park, reading books, singing songs, playing in her room, as well as trying to go back to the basics of communication- her signing with words (because she tries to talk, but I don't understand the words that are coming out of her mouth) and asking for help instead of just whining and crying all. the. time.

She has been so emotional lately, and I think part of it is that she can't communicate (and has gotten out of the habit of trying) that she just starts whining with no explanation about what she is even upset about. I think it might take a few more days to get her back into the swing of signing/saying her words and asking for help. We'll see how it goes!

It is hard to know if she is just growing and not feeling well, or if she is sick, not getting long enough naps, enough attention, or if she is just at the age where she is testing every single boundary.

She used to wake up from her naps happy and talking to herself, but now wakes up crying and so emotional, even after I go get her she will cry for 15 minutes while I try to calm her down.

What advice do you have for emotional toddlers? How do you react to bad behavior and temper tantrums? Help!

Sunday, February 26, 2012

Remembering Peter: Forget-me-not

After our first pregnancy ended in miscarriage we were very cautious and slow to announce to the world that we were pregnant with Lucy, and continued with caution during my pregnancy with Peter. 


If something does go wrong it is so hard to make those calls and have to tell your parents and loved ones that your baby died, or might die, or will die. It is like having to relive that moment when the doctor told you, over and over again. It is hard to keep your emotions inside while having to say the words out loud to someone else. 


When I was pregnant with Peter and we had our first scare about him potentially having problems, we had only told immediate family that we were even pregnant- and so they were the only ones we told that there might be something wrong. 


Immediately there was an outpouring of love and concern from those who knew. Prayers were offered on our behalf and for our unborn baby boy. My dad and step-mom surprised me with a beautiful gift that they saw while at an art gallery that reminded them of me. 


The artwork is a photograph of a patch of Forget-me-nots- the state flower for Alaska. These little blue flowers grew on the banks of a creek down the road from my house where I grew up. My younger brother, sister, and I spent a lot of our childhood summers at that creek having adventures.


My parents included a note that was so touching it brought tears to my eyes. The sentiments and thoughtfulness of this gift will always be a cherished reminder of Peter and the love of my family.


After Peter passed away we sat down with someone from the cemetery to choose his headstone. They gave us a pamphlet that had a list of symbols that are used on headstones with their meaning (really interesting).


They also gave us a pamphlet showing baby headstones. They were heart-shaped, with teddy bears and/or cherubs.  Some of them just said "Baby Smith" with no birth date- just the death date, or had a rhyme about babies in heaven. While that is nice, it was definitely not what I wanted for Peter.


This is what I knew I wanted:
1. Peter's full name
2. His birth date
3. His death date


After that, if there was room I wanted a picture of the temple or the statue of angel Moroni (that sits at the top spire of the temple) as a symbol of our faith. They pulled out their huge binder filled with Xeroxed icons that looked like they were from the 90's. I read the index for religions and found some "LDS" images. Eeegh. The "temple" that was drawn didn't look much like one, and it was obvious that whoever drew it didn't know about what they were drawing.


The woman working with us told us that there was an online database with lots of other images that she could look through for a better picture. I described what to look for (angel Moroni doesn't have wings) and she said she would email us with a design after she found a better picture.


She also informed us that there would be room for another picture and that it would also help balance the design visually. We looked in the index under flowers and saw that they had some Forget-me-nots listed. Perfect.


We chose a Forget-me-not spray for the corner. A few days later she emailed us the mock-up.


Again, perfect.


The design

Unfortunately, because their last shipment of granite came all cracked they were behind on installing  a lot of headstones and estimated it would be 6-8 weeks after Peter's funeral to be installed. That's something you don't really think about. On TV it always shows the headstone already installed when they lower the casket into the ground.

Well, as of last week- it is here! They called to let us know it was installed and even sent me an email with a picture of it. 

How did it turn out?

Perfectly! 

I was so pleased with the results. It is so nice to have a marker there now. It helps it not feel so lonely when we visit. I like the clean lines and look of it. 


The product.


I love flowers, and am glad that I will always have sweet memories of Peter associated with this precious flower.


Here are some lovely forget-me-nots I found that you could use to give as a gift to someone you love:


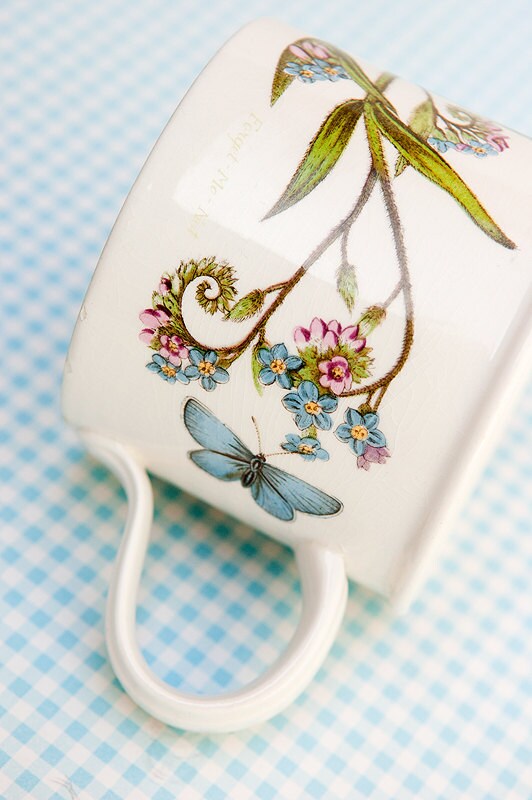
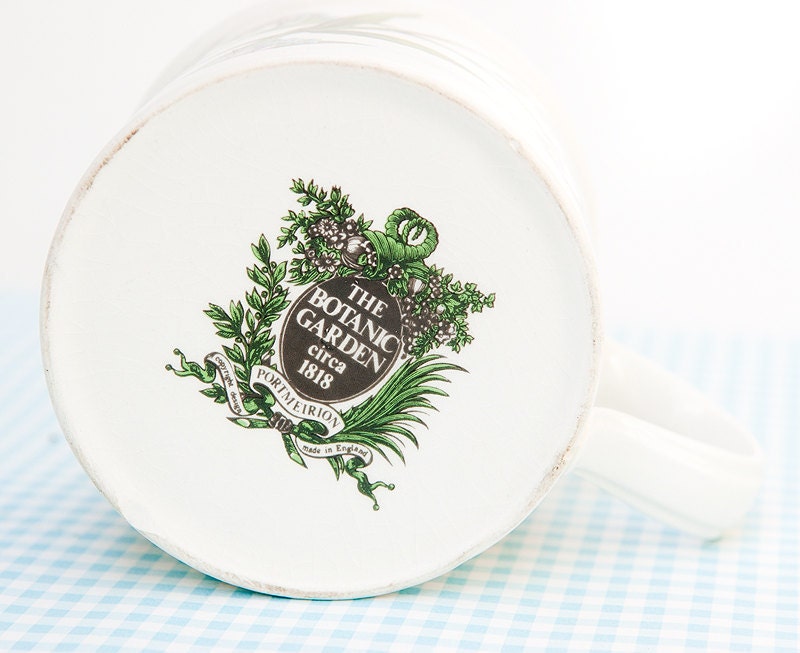
The bontanic garden mug with butterfly and forget me not design. Free shipping anywhere. Portmeirion         The bontanic garden mug with butterfly and forget me not design. Free shipping anywhere. Portmeirion


The botanic garden mug with butterfly and forget-me-not design. $22 found here.

I love the vintage feel to this charming mug.


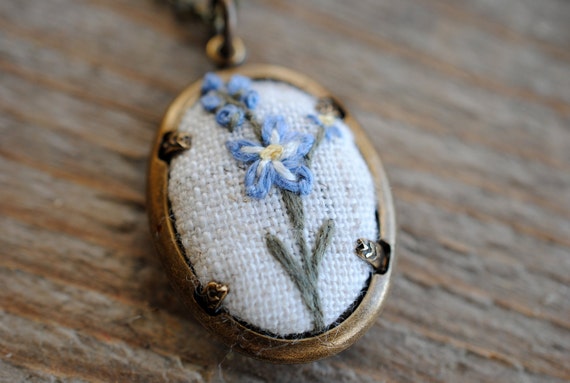
Forget Me Not Necklace, linen embroidered pendant ivory with blue


Forget Me Not Necklace, linen embroidered pendant ivory with blue. $35 found here.

Lovely hand embroidery. I love this!


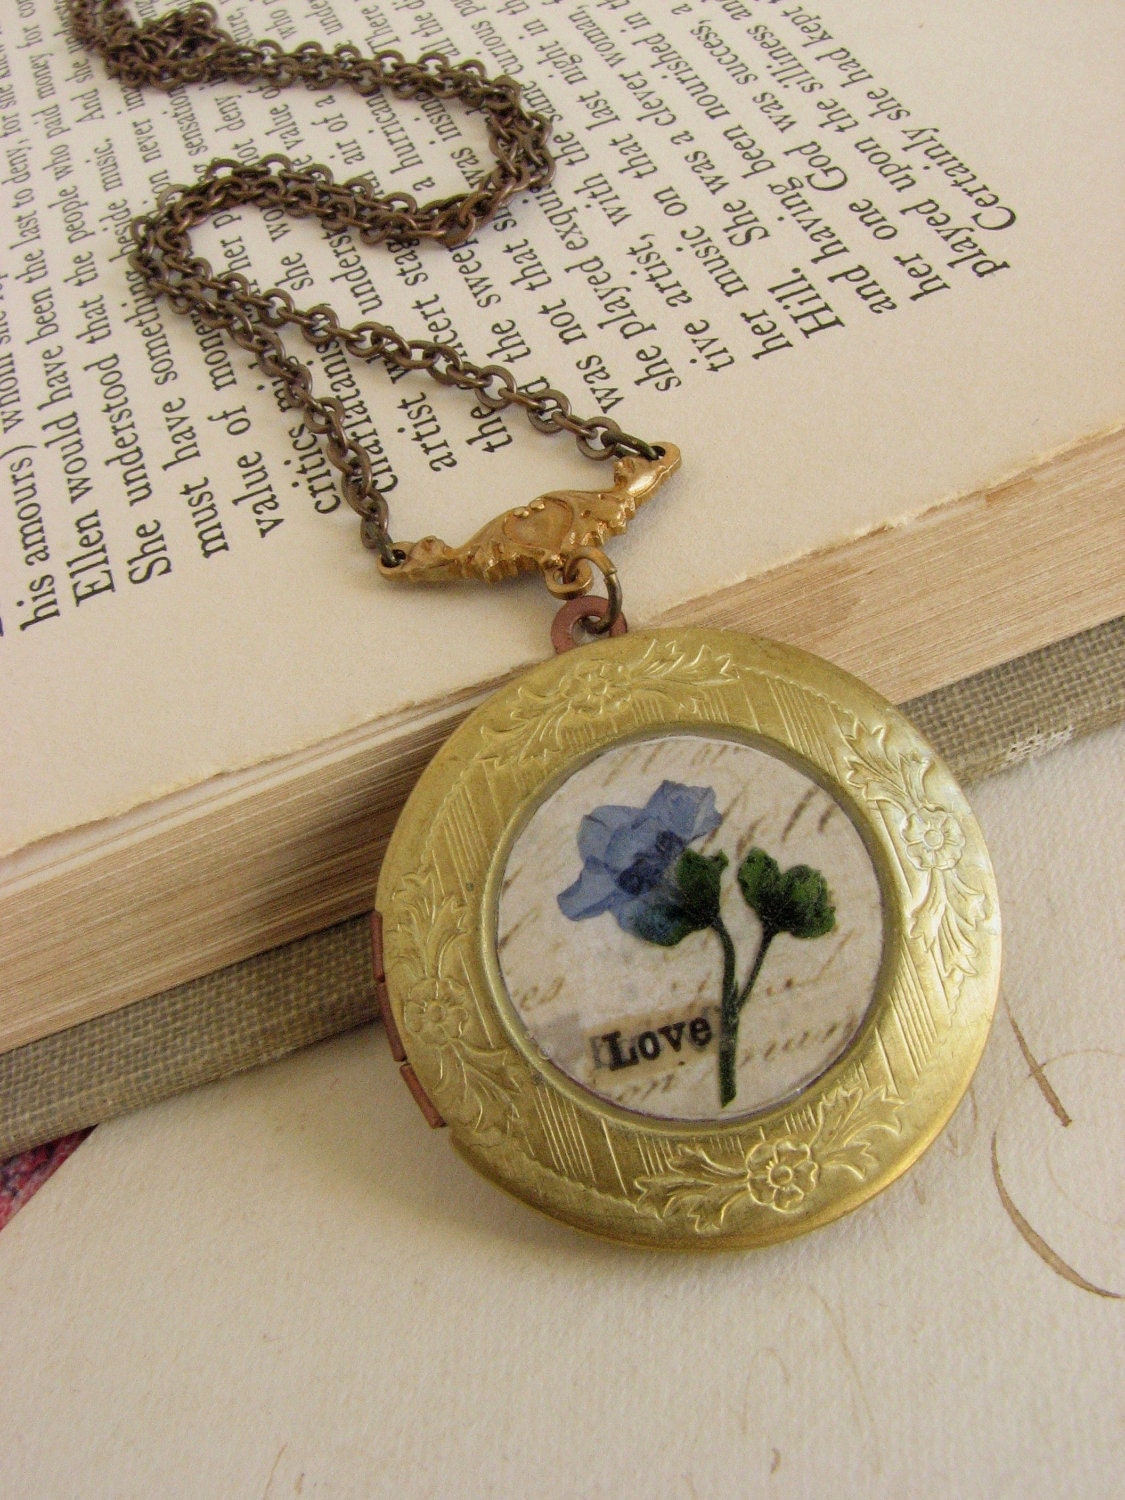
Forget-Me-Not Flower Locket -romantic pressed flower necklace-

Forget-Me-Not Flower Locket -romantic pressed flower necklace. $36 found here.

A perfect gift to put a picture or lock of hair in to remember.


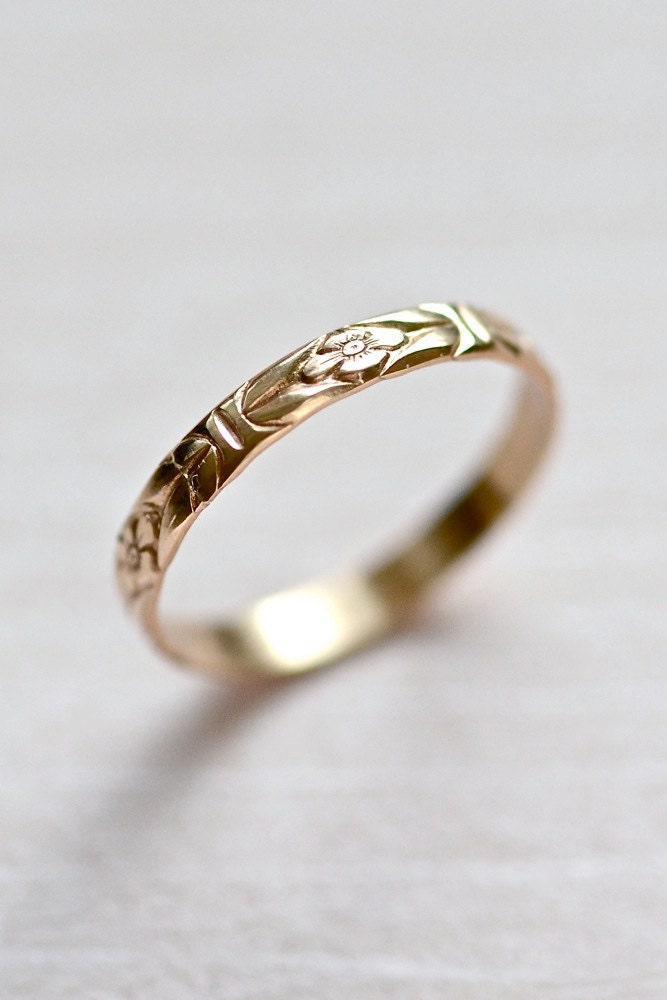
14kt Gold Forget-Me-Not Floral Wedding Stacking Ring, Size 7

14kt Gold Forget-Me-Not Floral Wedding Stacking Ring, Size 7. $165 found here.

A beautiful little reminder.


Abstract painting, 'Forget me not', small, original painting, oil, floral, 7x7


Abstract painting, 'Forget me not', small, original painting, oil, floral, 7x7. $50.00 found here.

It doesn't have to be a literal representation to be beautiful and uplifting.


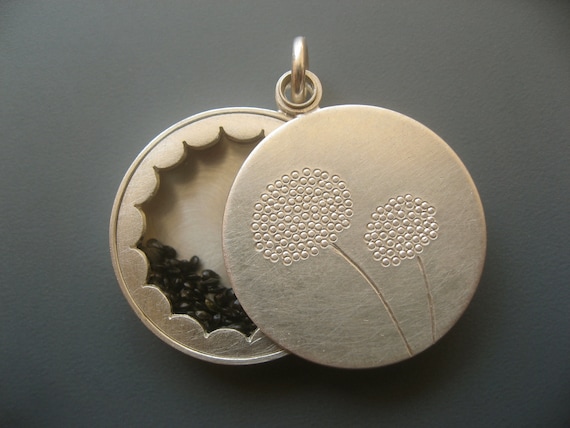
Silver valentine locket with forget-me-not-seeds


Silver valentine locket with forget-me-not-seeds. $225.26 found here. (A great idea, not the most affordable execution.)

You could have them scatter the seeds in a place that meant a lot to both of them, or even plant them at home to help you remember the one you love.


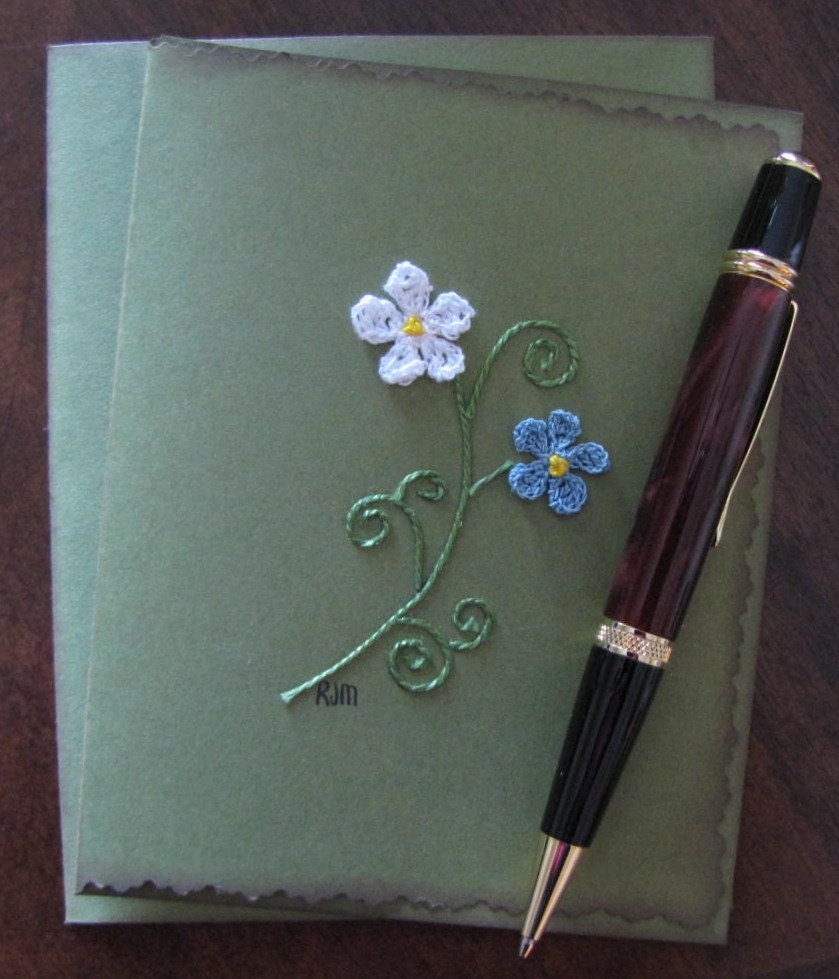
Blank Notecard with Crocheted Forget-Me-Not Flowers

Blank Note card with Crocheted Forget-Me-Not Flowers. $4.00 found here.

Perfect for writing a heartfelt note of sympathy, or sharing condolences. 


One of a kind jewelry, Brooch, hand embroidered forget-me-nots on buttercup yellow fabric

One of a kind jewelry, Brooch, hand embroidered forget-me-nots on buttercup yellow fabric. $12.20 found here.

I really like the yellow background. It reminds me of the happy moments and memories shared.


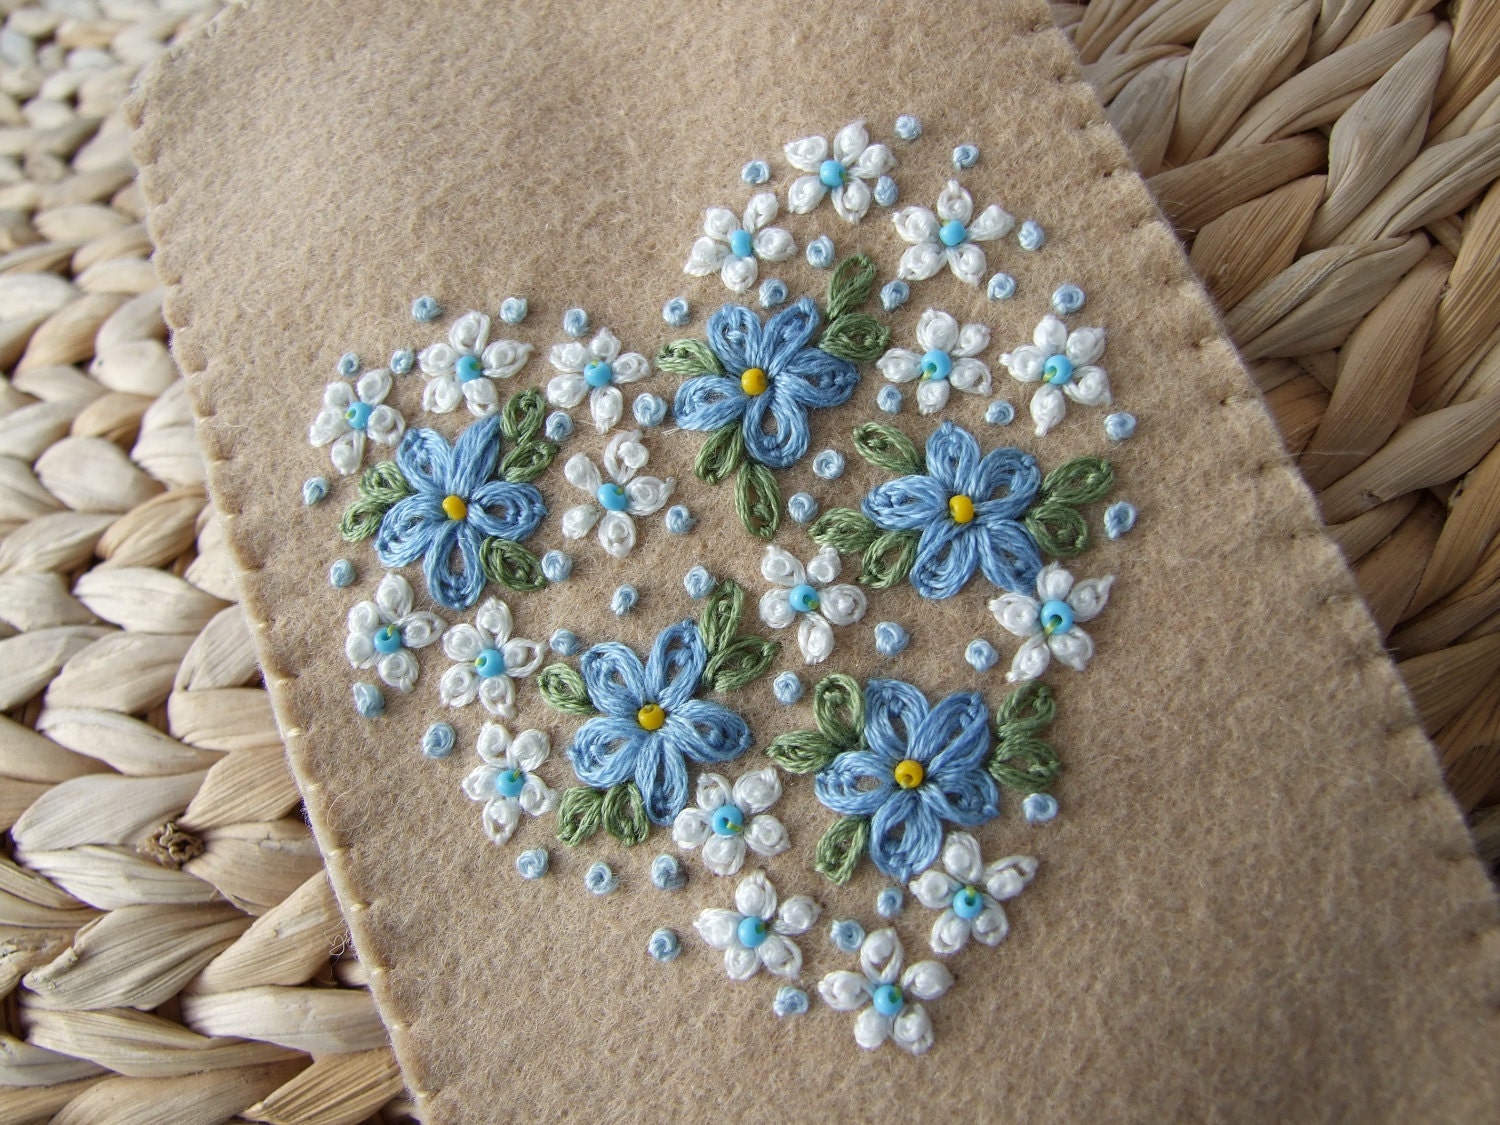
Hand Embroidered  Felt Glasses Case with Daisies and Forget Me Nots

Hand Embroidered Felt Glasses Case with Daisies and Forget Me Nots. $12.00 found here.

A useful gift with a sweet sentiment.


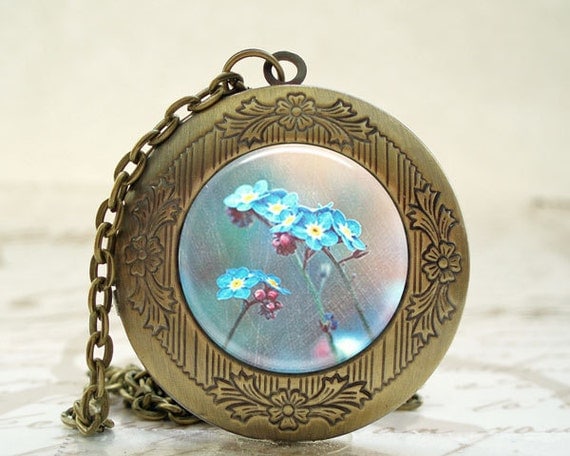
Locket - Antique Bronze Photo Art Locket - Forget Me Nots Locket with Necklace and Matching Gift Tin


Locket - Antique Bronze Photo Art Locket - Forget Me Nots Locket with Necklace and Matching Gift Tin. $14.95 found here.

Another beautiful locket for a special keepsake.


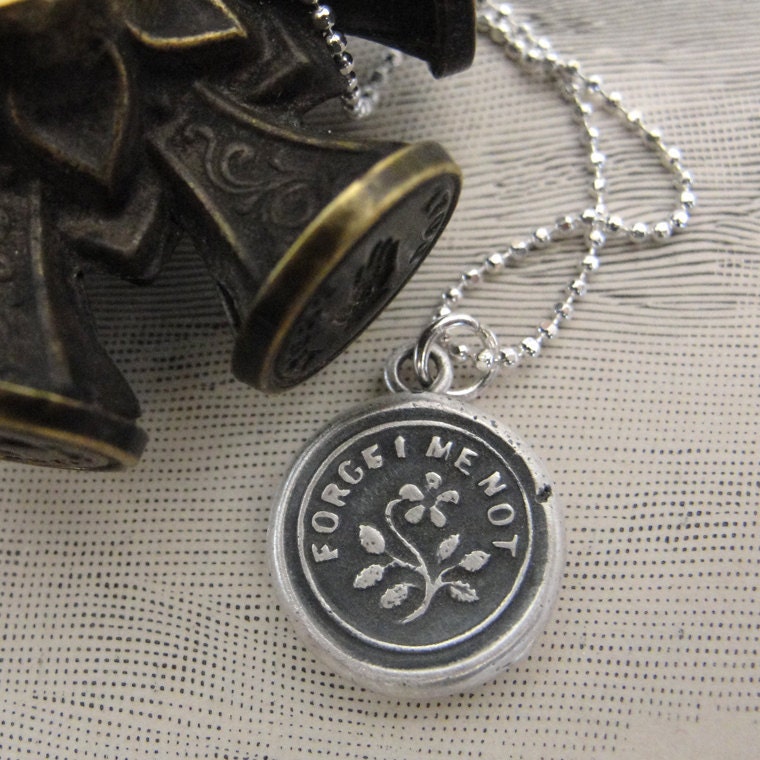
Wax Seal "Forget Me Not" charm necklace - flower wax seal jewelry pendant in fine silver

Wax Seal "Forget Me Not" charm necklace - flower wax seal jewelry pendant in fine silver. $35.00 found here.

I love sealing wax and the timelessness of this sentiment.


When you don't know what to do or say, a gift or note can show you care and are thinking about them, and Forget-me-nots are a beautiful symbol for that.


Here is an inspiring talk by President Uchtdorf that uses Forget-me-nots as a metaphor for five things that we should not forget.

#4 Pinspiration: Outfit: Braids, Ring, Nails

Some adventures in fashion!

When I was in 7th grade I was really into painting my nails and had a box full of polish in every color of the rainbow. I rarely painted my nails while in high school or college, and ended up "gifting" all my nail polish to my younger sisters when I left home. (You're welcome!)

Part of the problem was that it only looked good for about 20 seconds, and only on my non-dominant hand. I was also really involved in art classes and you can't have nice manicures while throwing on the pottery wheel, or while printmaking.

Right after I had Peter and was in the hospital, two of my friends that I serve with at Church stopped by with a gift bag. They had brought me pale pink polish, grey polish, a container of cookies, flowers, and heavy-duty lotion. I was so touched by their thoughtfulness to think of me especially since most gifts are for babies, and not really the mom.

Now I had a new reason to start painting my nails again! I got some some nail primer and no chip top coat for Christmas to try to make the effort of painting my nails worth it by prolonging the life of the paint job.

It was nice to have a reason to stop for 20 minutes and spend some time on myself and just have a break to relax while dealing with the stress and emotions of Peter's life and our loss.


Goal #4: Pinspiration

Via

Via

Via


My version:


Rockin' more braids.


CZ studs: gift from Zach

Revlon Minted and Dreamer


Actually won a giveaway! Got this ring. (Not worth $29 + tax + shipping and handling) but with gift card = freeee!


Peter locket in action. Also, new chevron shirt = love. I'm always on the lookout for  light knit shirts for hot Texan summers that have more than a cap sleeve.


Friday, February 24, 2012

#5 Lucy's Valentines 2012

I bought a pack of blank crafting cards from Walmart and planned to use this pin, this pin, this pin, and this pin as inspiration for Lucy's Valentines. This project is a double whammy as it also helps me meet goal #5 for the year! (Even though they got sent out late, and still have a few to mail! It's never too late to mail some love though, right?)


Here is the inspiration:

Pinned ImagePinned Image


Pinned ImagePinned Image


Here is Lucy's take on it!

Materials:
Crayons: we started with some "baby" crayons (pictured below) but they were too waxy and didn't always leave dark enough lines (which is what we wanted for this project) so I switched to crayola
You can also pick a few crayons for a specific color scheme you want, ie. just give them all the pink, red, purple crayons for a V-day look

Watercolor Paper: I bought a pack from Walmart that came in a notebook glued together on one end. Just pull a sheet out at a time. If you weren't going to watercolor afterwards, you could just use any kind of paper you had on hand. Watercolor is nice because it is thick and won't wrinkle as much.

Watercolors and brush: I used a set I had on hand from one of my bridal shower gifts (Thanks, Amy!) and mixed the colors up on a palette. Older kids could probably do it themselves straight from the paint pots. I also didn't include the brown or black for Lucy because I didn't want the colors to muddy up any more than they already would.

Water and large container to hold it in

Blank cards and envelopes

Scissors

Cutting board: for even 3x3 square paintings at the end

Scrap paper: for heart template and "my art belongs to you" tags- I printed mine on computer paper

Mini heart hole punch for inside of card: optional. I got mine at Walmart for 99 cents.

Clear photo corners: you could also just glue it down inside the card

Exacto knife: Not for little hands! This is one of the parent parts of the project!


Loving coloring, little does she know it's about to get even better!


After filling the watercolor paper with crayon drawings, we start the watercolor painting! I did a wash of just clear water over the entire paper so that the colors would flow and mix together. (Also known as "wet-on-wet".)


Going at it.

Coming together.


Strategically placing the paint pallet over the part already painted so Lucy will paint the other areas.


Lucy loved loading up her brush!

The crayons act as a wax resist to the watercolors. Highly recommended for Easter egg dying.


Choosing new colors for her second piece.


After they had dried for awhile I sprinkled salt on the puddles that remained. Once it was completely dried, rub the salt off for a cool texture, and sometimes a little bit of sparkle.


Fold, then cut with scissors!


Template for tracing hearts on blank cards. I used a pencil to lightly trace, then cut it out  on the card with an exacto knife. After you cut it out the card, use an eraser to get rid of any lingering pencil marks.


After painting dries, cut into 3 inch squares.


Lovelies.


First five done!


I used clear photo corners inside the card to put a mini-painting in each card, so they could be removed and kept if they wanted. Just line up the painting so it will show through the window, stick down, and viola!

I was in love with how they turned out, and my favorites were the ones with the non-traditional colored hearts- like the two on the bottom in the picture above.

On the back of the Valentine for Zach I wrote little notes about what Lucy is like right now, a mini-time capsule of sorts to look back on and remember. Favorite foods, words she says, etc.


Eager to show dad her creation.


Proud of her artwork! 


Lucy absolutely LOVED using the watercolors and we will definitely be using them again soon.


Happy Valentine's Day!

Thursday, February 23, 2012

Roasted Brussels Sprouts With Peppered Bacon

I had an amazing roommate (I had a lot of amazing roommates) at college who is inspiring in so many ways. I remember she got home from grocery shopping once with some random vegetable I had never heard of before- a spaghetti squash. She explained to me that if she ever went shopping and saw a fruit or vegetable she had never eaten before, she would buy it and find out how to prepare it.

So adventurous! Since then I have adopted her approach and bought and eaten some random things. It helps you branch out and try new dishes and learn new recipes.

I've only ever had Brussels sprouts once before that I can remember, and I don't remember liking them. Granted, I was also probably six or eight years old at the time. I saw them at H-E-B the other day and decided to try them again since I was having so much success with broccoli.

I turned to my trusty sidekicks: Martha Stewart and Pinterest.


I can always count on Martha.


My adapted version:

Roasted Brussels Sprouts with Peppered Bacon

Ingredients:


  • 2 tablespoons olive oil (could use less)
  • Coarse salt and ground pepper
  • 1 pints brussels sprouts, trimmed and halved
  • 2 slices of peppered bacon

Directions:

  1. Preheat oven to 425 degrees. In a medium bowl, toss Brussels sprouts with 2 tablespoons olive oil; season with salt and pepper. Put on tin-foil lined baking sheet.  Roast, tossing occasionally, until vegetables are tender, 25 to 30 minutes.
  2. After cooked to liking, set aside.
  3. Cook peppered bacon as shown here.  After cooling, chop well, mix with roasted sprouts and enjoy!

Makes 2 servings.


Washed, dried, trimmed, halved, salted, peppered, oiled and ready to toss!


Ready to go in the pre-heated oven.


Mmmm!


The little leaves that fell off made yummy little sprout crispies. Like a little mini chip! Tasty.

If you can do roasted broccoli, you can do this! Just add bacon.

So easy, and so good.
Related Posts Plugin for WordPress, Blogger...